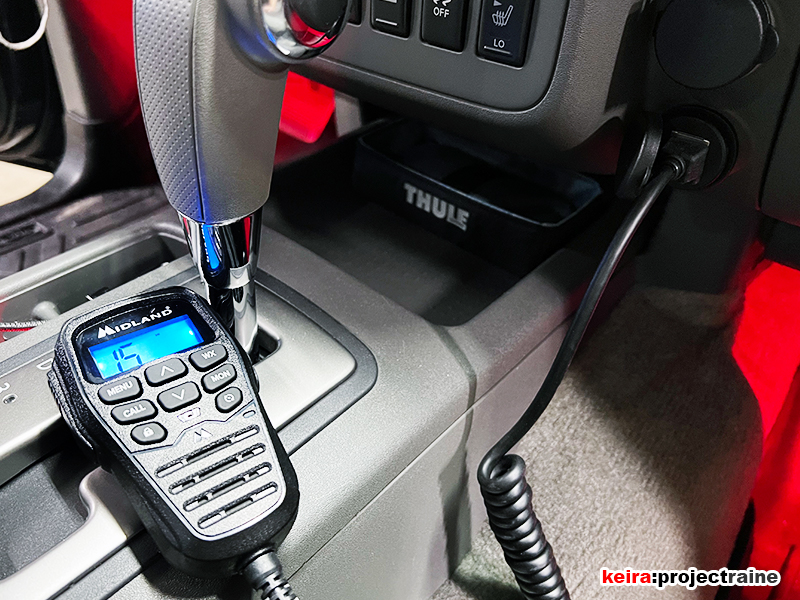

I finally bit the bullet and bought a new mobile-mount ham radio, going with the Yaesu FTM-500D.
![Image]()
I went with this model since it can do both normal FM analog radio and Yaesu's System Fusion C4FM digital mode including location beacon over the data portion of the packet-voice communication, so for offroading and as a pseudo-base-station when talking to someone with a Yaesu C4FM handheld it should be easy to keep tabs on the location of everyone even if we split up. Yes, this does mean my wife and eventually my daughter getting licensed, but we'll burn that bridge when we come to it.
My goal on this install is to make as few changes as possible, and to have as little visible as possible. The choice of this radio over the competing Alinco DMR mobile was due to the removable head, a head that while removable has a forward-firing speaker built in. It makes it a lot chunkier than many other radios' removable heads, but not something that I couldn't make room for.
I've had my Frontier for around seven years, and in that time I've never used the sunglasses compartment in the overhead console. I live in greater Phoenix and if I tried using it for glasses I'd end up searing the flesh on the side of my face during the summer, it's basically a useless compartment here. It seems like a perfect candidate location for a chonky removable head unit.
Pulling down the console there's a surprising amount of room up in there. There are huge voids above the headliner above the sun visors. It's almost silly how much space is in there. the mounting stud and nut for the satellite radio is plainly visible as well:
![Image]()
The mounting slots on the crossmember are a little surprising, it looks like they intended several possible consoles, but I've never seen anything that uses the further forward ones.
No picture, but the sunglasses compartment itself serves as the forward mounting point for the overhead console. The housing has the metal clips in it rather than in the frame of the overhead console. With effort I took the sunglasses compartment out of the console and reinstalled the console just by the rear mounting clips to see how everything lined up:
![Image]()
Decided against simply mounting the radio straight to the metal cross member for now, there'd be no interior finishing that way and I'd have to put something together to hold up the overhead console at the forward edge.
While I had it apart I took the door off of the sunglasses compartment and figured out how I wanted to place the head within the housing, scoring the housing with a pick, then pulling the aftermarket mounting plate off the radio head and drilling and bolting it into place. This was what I came up with:
![Image]()
![Image]()
I might end up adding some more material to the back of the compartment, I don't want washboarded roads to cause it to pull through and come apart, but this will do for now. I'll also eventually need to drill for wiring.
Radio installed in the sunglasses compartment:
![Image]()
It feels pretty solid this way. Since the compartment itself is what attaches to the roof structure I went ahead and clipped it into place without the rest of the console in order to check fitment and impingement of the rear view mirror:
![Image]()
The radio buttons are just barely visible in the mirror, but only at the top where they will matter least, and this is with the mirror put as high as I could place it. I don't think this is going to be a problem.
Pulled it back down and installed the compartment back into the overhead console, and then reinstalled the console itself:
![Image]()
I think this is going to work. It feels solid, the top buttons and face buttons are all reachable, and I didn't have to do anything funky to the dash in the process.
I went with this model since it can do both normal FM analog radio and Yaesu's System Fusion C4FM digital mode including location beacon over the data portion of the packet-voice communication, so for offroading and as a pseudo-base-station when talking to someone with a Yaesu C4FM handheld it should be easy to keep tabs on the location of everyone even if we split up. Yes, this does mean my wife and eventually my daughter getting licensed, but we'll burn that bridge when we come to it.
My goal on this install is to make as few changes as possible, and to have as little visible as possible. The choice of this radio over the competing Alinco DMR mobile was due to the removable head, a head that while removable has a forward-firing speaker built in. It makes it a lot chunkier than many other radios' removable heads, but not something that I couldn't make room for.
I've had my Frontier for around seven years, and in that time I've never used the sunglasses compartment in the overhead console. I live in greater Phoenix and if I tried using it for glasses I'd end up searing the flesh on the side of my face during the summer, it's basically a useless compartment here. It seems like a perfect candidate location for a chonky removable head unit.
Pulling down the console there's a surprising amount of room up in there. There are huge voids above the headliner above the sun visors. It's almost silly how much space is in there. the mounting stud and nut for the satellite radio is plainly visible as well:
The mounting slots on the crossmember are a little surprising, it looks like they intended several possible consoles, but I've never seen anything that uses the further forward ones.
No picture, but the sunglasses compartment itself serves as the forward mounting point for the overhead console. The housing has the metal clips in it rather than in the frame of the overhead console. With effort I took the sunglasses compartment out of the console and reinstalled the console just by the rear mounting clips to see how everything lined up:
Decided against simply mounting the radio straight to the metal cross member for now, there'd be no interior finishing that way and I'd have to put something together to hold up the overhead console at the forward edge.
While I had it apart I took the door off of the sunglasses compartment and figured out how I wanted to place the head within the housing, scoring the housing with a pick, then pulling the aftermarket mounting plate off the radio head and drilling and bolting it into place. This was what I came up with:
I might end up adding some more material to the back of the compartment, I don't want washboarded roads to cause it to pull through and come apart, but this will do for now. I'll also eventually need to drill for wiring.
Radio installed in the sunglasses compartment:
It feels pretty solid this way. Since the compartment itself is what attaches to the roof structure I went ahead and clipped it into place without the rest of the console in order to check fitment and impingement of the rear view mirror:
The radio buttons are just barely visible in the mirror, but only at the top where they will matter least, and this is with the mirror put as high as I could place it. I don't think this is going to be a problem.
Pulled it back down and installed the compartment back into the overhead console, and then reinstalled the console itself:
I think this is going to work. It feels solid, the top buttons and face buttons are all reachable, and I didn't have to do anything funky to the dash in the process.
")