Nissan Frontier Forum banner

Hitch Plug Relocated to Bumper

602K views 147 replies 69 participants last post by  FR0N713R  
#1 · (Edited)
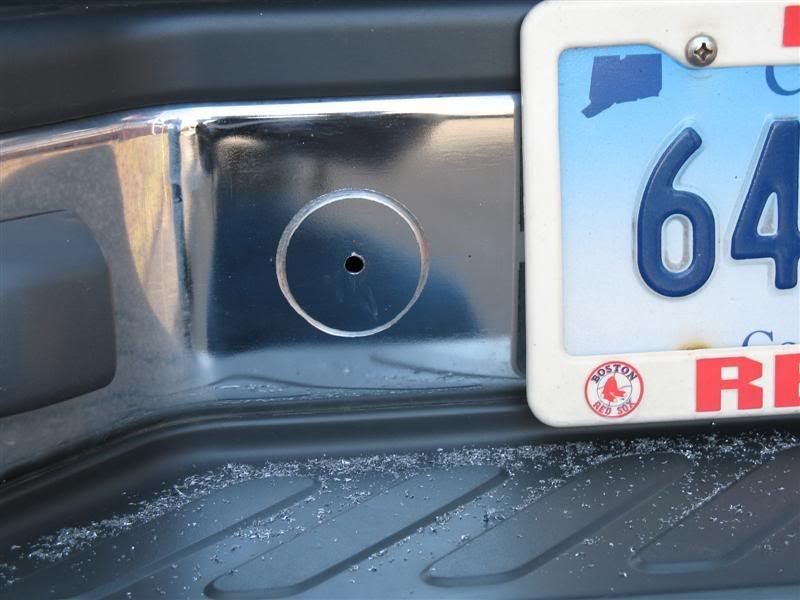
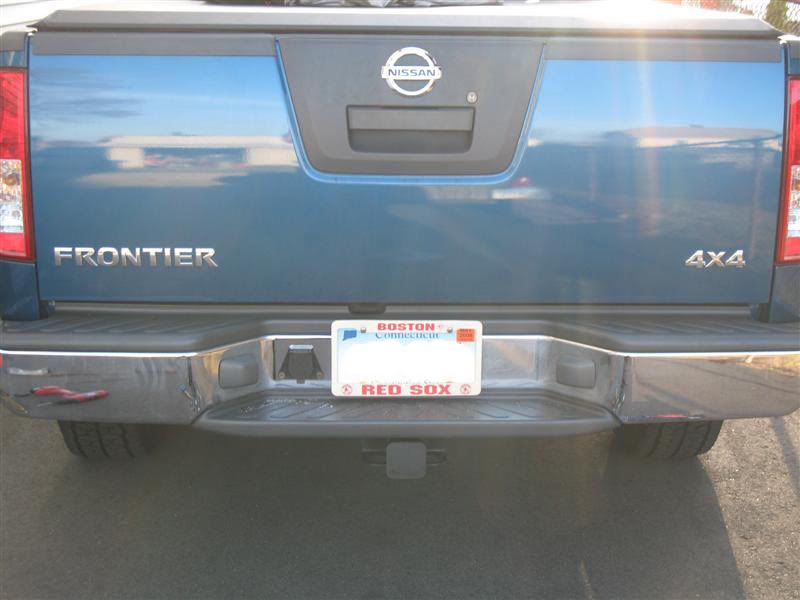
I relocated my 7 pin trailer hitch plug on Monday. I used a 2.25 inch hole saw and then cut away some of the plastic guides (that it used to slide onto the original location) so I could squeeze it through the hole.

The drill bit size I used for the plug's bolts was 1/4inch. I slid the plug in, made sure it was straight, marked the holes with a sharpie, used a punch to make a little divot, took the plug out then drilled the two holes.

Here are the pics.

Image


Image


Image


Image


NEW PICS:
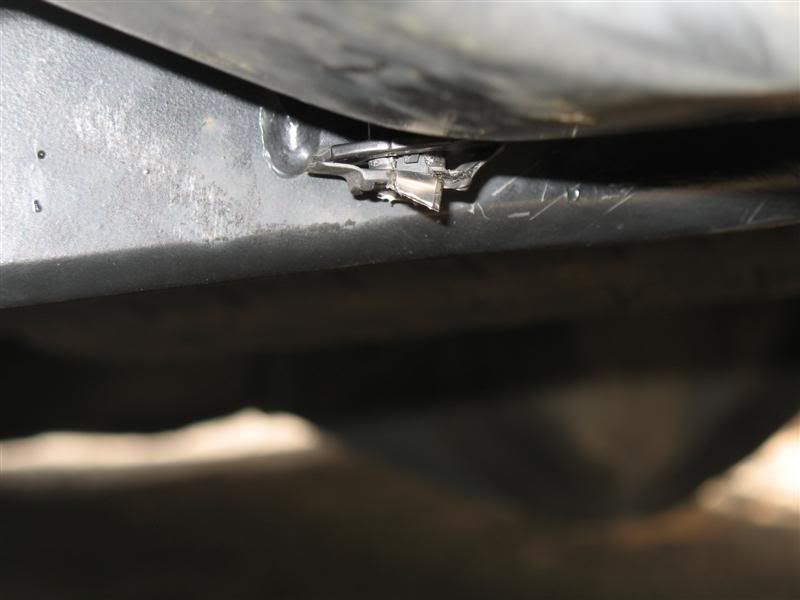
This is a pic of the clip/ cable tie I had to cut so the plug could reach easier. (I tried removing the whole cable tie clip, but I couldn't get the tab through the hole)
Image


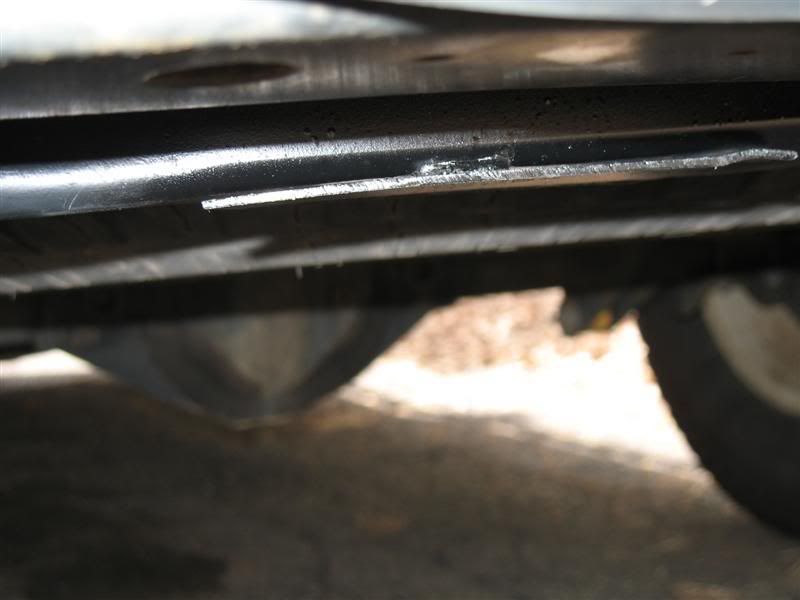
Here are the remnants of the plate that held the plug. The sawzall was pretty long so this was a pain for me to cut, I had to hold the sawzall at an angle. I then sprayed the bare metal with some paint.
Image


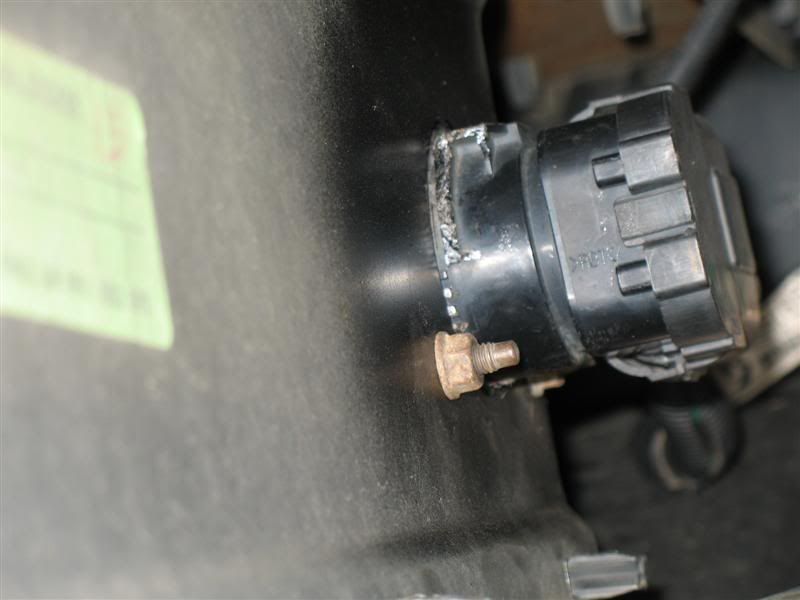
Here on the side of the plug you can see where I cut the plastic with diagonal cutters. It's not the cleanest job in the world, but it's behind the bumper so who cares.
Image


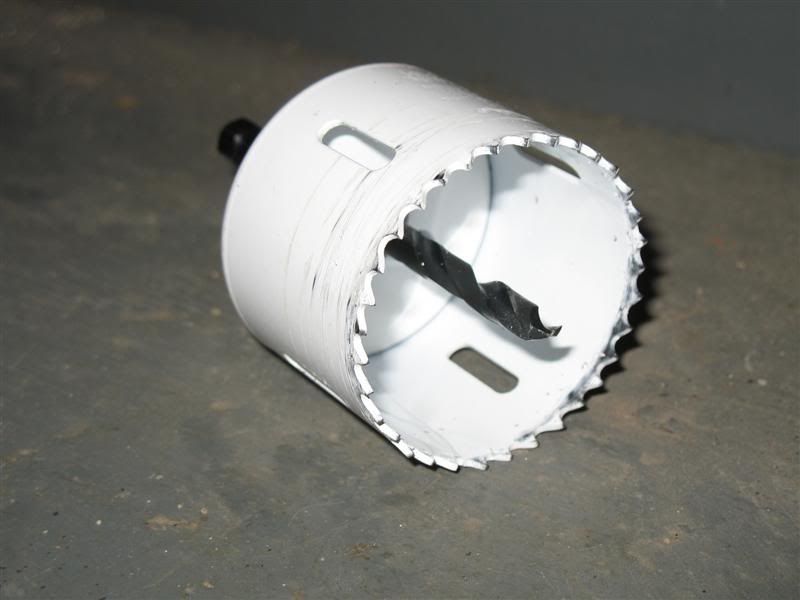
The hole saw I used.
Image
 
#3 · (Edited)
Good info on the steps taken. Might actually do that today.

OK, did it this morning/afternoon. Turned out fantastic. Anyone thinking about doing this DO NOT I repeat DO NOT use a 2 1/2" hole saw to cut it. I used a 2 3/8 to cut it and had a fun time positioning it to cover the scratches form the hole saw walking a bit, mainly because my barb came loose in the middle of starting it. I really think a 2 1/2" will be too big to cover with the plate.
 
  • Like
Reactions: kc-guy
#4 ·
great write up thanks! i used a 2 1/8 inch hole saw which made it snug but popped in w/ a little force. i had to grind down the extra plastic to make it flush w/ the bumper. note: you have to disassemble the entire unit to make it work. i just used a small flat head screw driver to undo the clips.
 
#5 ·
Very nice.

You wouldn't happen to know if there's anything available to do that with my 4-pole connector, would you? I searched a bit on the the Internet, but couldn't find anything except an adapter to go from a round connector to a multiple configuration connector, which doesn't help me.
 
  • Like
Reactions: kc-guy
#9 ·
Thanks for figuring what size hole saws to use - it helped save me some time!

Instead of cutting off the plate with a saw, I opted for an angle grinder. There is weld the width of the plate on the forward side and a small spot weld on the aft side. I had to use a rotary tool to get to the spot weld since it's kind of tight and the angle grinder made quick business of the bigger weld. Took the grinding wheel to it all after to and hit it with some BBQ paint I had kicking around. A bit cleaner IMO and you won't have to worry about moisture collecting in that gap where you cut off the plate with the saw.

Picasa Web Albums - SnapTee - Hitch
 
#11 ·
Bringing this back up from the depths of the forum.

I'm looking to do this soon.
Question- How difficult is it to take apart the plug?
 
  • Like
Reactions: kc-guy
#12 ·
plug disassembly is easy! 2 bolts, pull the outer flap portion apart from the back half, and disconnect the rest w/ a flathead. i HIGHLY RECOMMEND a 2 1/8 hole saw. That seemed to be perfect enough to angle the plug and pop her through. grind the metal down where thw old bracket was previously.
 
#16 ·
Image


Used a 2 1/4" hole saw.

I'd recommend a 2 1/8". Had to wiggle it around a little bit to make sure the whole thing was covered, and had plenty of room for the plug.

the 2nd gen plug might be a little different.

And yes. I know it crooked. Thank you for noticing.
 
#23 · (Edited)
They were a factory option on the XE's.

Plus with this when i feel like it i can take off that damn trailer hitch to increase my departure angle's. While offroading.
Do you have issues with your departure angle while onroading often?

And zedbra is right, its all relatively straight forward. he may be slightly exaggerating how easy it is to take the plug apart; i fought with mine for a while. I think it was more of an age/wear issue than anything else, though. its pretty simple. Do it up, sounds like you want to move yours for the same reason i moved mine. :ugogirl:
 
#19 ·
I'm loving this mod. Ive been wanting to get of my receiver hitch when i feel like it for awhile now but those wires and this have kept me from doing that.
 
#27 ·
Great DIY thread. What do you recommend if you've already torn up the stock bracket and plug just doing what the truck is designed to do? Relocate with new generic plug and splice the wires? A new plug end & bracket from Nissan here is $80!!!
 
  • Like
Reactions: kc-guy
#28 ·
You ought to be able to find a generic one at an RV dealer for a 1/3 of the price.
 
#31 ·
when i did mine i used a 2.5" bi-metal hole saw if anything there is a tiny sliver that doesnt cover but you have to be on your hands and knees and staring at it with the cover for the 7 pin open and still hard to see heres a couple pics the last two are why i did it and when i got a new plug i bought oem from my local dealer and they charged me around $100 ive been had


Image


Image


Image


Image
 
#36 ·
..when i did mine i used a 2.5" bi-metal hole saw...
^I used a disposable hole saw :) .. couldn't find my 2.25" Milwalkie Sooo.. I bought a Taiwanese 2.25" wood one and toasted teh hell out it! Perfect one shot deal :laugh:
 
#32 ·
I did the same thing to my truck when I first bought it in 2006. It was pretty much the same method, but I cut the bottom end of the hole flat so that way I wouldn't have to grind off the plastic tabs off the back of the plug. Doing it this way, you insert the plug upsidedown, then once its flush with the bumper, turn it 180 degrees. When you turen it rightsdieup, the plastic tabs lock into the upper rounded portion of the hole for support, and the lower bolts for security. Once the plug was fully installed, you can't even see the flat part of the hole!

Image

Image

Image

Image

Image
 
#37 ·
as far as the wiring of the 7 pin do you need to do anything other than just plug it in? and do you need anything else to have the trailer breaks work?
 
#38 ·
You need the OEM 7-pin wiring harness with the relays for everything to work. Without it, your brake lights won't work correctly and everything will be screwed up. The key is the relays, thus the statement stating you "needed" the oem 7-pin kit.

Side Note: I have always found it to be better to buy the 7-pin harness and then having a 7-4 adapter on hand when one is needed. Its always easier to go from 7-4 instead of 4-7.
 
#39 ·
got ya where can i get one of those adapters for fairly cheap?
second if you get the Nissan oem 7 pin kit it will have trailer breaks without a control unit? the little box that flashes when you press the brakes lol. is that unit just for if you want to adjust the sensitivity and fine tune them?
 
#40 ·
If you have the towing package from the factory, then there is a wiring harness under the dash for installing an electric brake controller. You can add this on if it was not OEM, but you have to buy some relays, etc, to get it to work. I think there are a couple write ups on that. You have to buy an "external" brake controleler, only some of the new trucks from Ford and GMC are carrying the built in dash brake controller. The brake controller is used to adjust the force of the brakes to suit the stopping power of your car and due to the increased or decreased load of the trailer. More weight would mean raising the braking force.
 
#41 ·
There is a Nissan part (~$10) that plugs into a prewired harness under the steering wheel. It has pigtails so it can be wired to a brake controller.
 
#42 ·
Good info. My frontier had an aftermarket trailer hitch so I have no where to mount the factory 7-pin setup I just bought. Ill be doing this "mod" in the morning.