

NOTE: THIS IS A VERY LONG READ. You have been warned

Please be aware that his is all subjective; this is my test only, my thoughts, my opinion; if you already own one of these items and you disagree with my findings, don't worry about it. You don’t need to defend your decision and/or get all butthurt LOL
Ahoy! Let's rewind a bit: After over-engineering (overthinking?) a previous project on my Frontier (that I ended up removing a few months later), recently I got interested again in some sort of electronics dash mounting solution – this time anchored in the center-top dash area of my truck. After some browsing and some well-timed email newsletters in my inbox, I ended up buying two of the currently available flush-mount options for the 2nd Gen Frontier: The Bulletpoint Mounting Solutions RubiGrid and the Z1-Off-Road Dash Platform. (Technically there is a third option from ICS-Fab, but it is a raised, universal-type platform that looks generic and does not sit flush with the Frontier dash top.)

Since I had both in hand, I thought I’d do a comparison of the two options – not only to decide which one I liked better, but so that others can decide for themselves which one might fit their needs as well. So let's get to it: staying true to the head-to-head format, I will be comparing each dash panel to each other in multiple categories, then determining an overall winner.
Alrightythen, let’s start with some product information and initial thoughts:
I. Initial Value
Bulletpoint Mounting Solutions RubiGrid
Since I ordered this one first (and then let it sit in the box for about 2 months because I forgot about it), we’ll start here. The Bulletpoint Mounting Solutions RubiGrid is available in 9 different configurations; I went with the basic lowest cost configuration ($39.99) since I had a collection of adjustable AMPS arms and sockets and so forth from the previous dash accessory mount project.

The RubiGrid arrives in some very nice packaging, and inside the box I found the following:
- Rubigrid top panel
- Lower mounting bracket
- AMPS mounting ball
- Instruction booklet
- Two bags of hardware
- Basic hex wrench
- Mini combination wrench
- Phillips screwdriver
- Panel removal tool
- Two drill bits (only 1 shown in the photo)

…Also included were these two things:
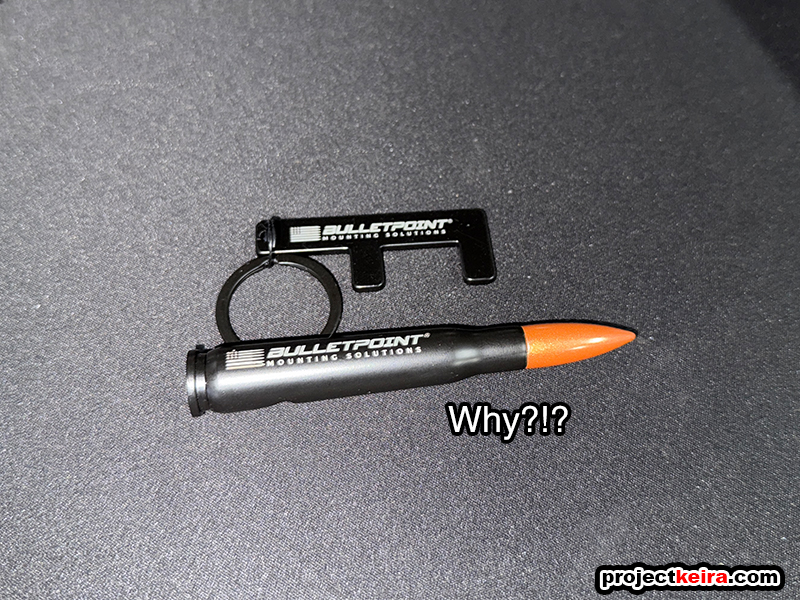
Okay, the branded keyring is a nice, standard piece of merch… but the fake bullet bottle opener? I get it – it matches the brand name (which I was slowly seeing an abundance of), but is this really necessary? Did someone at the company think this would be some cool thing, like those fake rubber ball sacks that mall crawler bros hang from the bottom of their diesel trucks?
Z1-Off-Road Dash Platform
Switching over to what I will refer to from here on out as the “Z1 Platform”, the Z1 Off-Road Dash Platform offers two versions – one for the 2005-2008 Frontier, and the one I have for the 2009-2021. You can purchase the Z1 Platform by itself, or optionally include either a non-charging magnetic mount for an additional $10, or a charging magnetic mount for an additional $25. Not bad right? However,… I almost forgot to mention a key detail here: the base Z1 Platform package has an MSRP of… $79.99! Wowzers.
Compared to the fancy packaging and presentation of the RubiGrid, the Z1 platform arrives in a bare, clinically plain white box with the Z-1 branding literally taped on (not even printed on the box!). I would have taken a photo of the unboxing but when I cut the packing tape to open it up, the whole box just fell flat. Unlike the Rubigrid packaging, the Dash Panel parts were just wrapped in white foam sheets taped closed. The contents were as follows:
- Upper Dash Platform
- Lower mounting bracket
- One bag of hardware
- Curved 90-degree accessory mount

Wait – that’s it? For $79.99? What the hell? Unfortunately, yes – for twice the price of the RubiGrid, there isn’t much to see here with the Z1 Platform. You don’t get any type of mounting ball, you don’t get any installation tools… you don’t even get printed instructions; instead, you just get a QR code linked to the Internet to an installation video where some of the steps involved some tool Mickey-Mousing (more on this later).
In terms of initial cost, the RubiGrid gives you a lot in the box (and maybe something you don’t want) for half the price of the Z1 Platform. As of this moment (early in the testing) I find it hard to explain why the Z1 Platform costs twice as much when it comes with a lot less. RubiGrid wins this round, easily. (Note: I excluded packaging, and only considered the actual contents when deciding on value)
INITIAL VALUE GOES TO: BulletPoint RubiGrid
II. Construction/Component Quality
Z1 Platform
The main upper plate of the Z1 Platform measures in at 2.84mm thick, and when weighed with the mounting bracket (plus only the hardware needed to attach the two pieces together) the Z1 Platform tips the scale at 1 pound, 0.9 ounces:


According to the product description, the Z1 Platform assembly has a “durable UV-resistant powder coat” and the included 90-degree arm is stainless steel. All three parts are very stiff, and the edges are all finished nicely. The powder coat finish is fine, but it could have been better. The installation hardware is stainless steel (good), and I like how Z1 chose larger M6 bolts to mount the platform to the dash bin. The upper platform has a small, discrete screen printed Z1 logo. I prefer small, discrete logos – with the option of larger logos (i.e. decals). some people need to put their branded gear on blast, but usually I don’t.
Bulletpoint RubiGrid
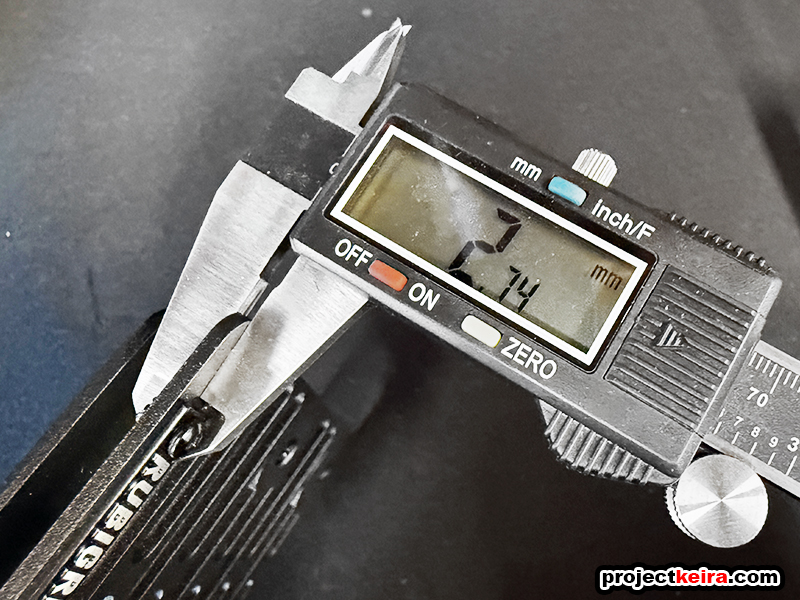
Switching over to the RubiGrid, I measured the main upper plate of the RubiGrid at 2.74mm, and when weighed with the mounting bracket (plus only the hardware needed to attach the two pieces together) the RubiGrid is slightly heavier at 1 pound, 3 ounces. Note that although the upper plate is lighter than the Z1 platform, the bulk of the RubiGrid’s weight is from the solid metal mounting bracket:
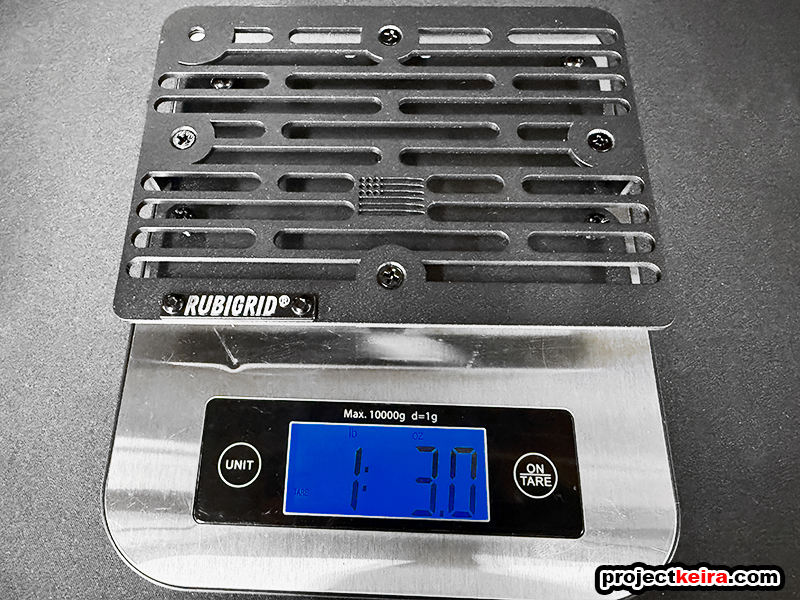
The Rubigrid and bracket have a nice, textured finish that looks and feels durable – it has a very similar feel to factory spray-in bedliner. The upper plate has many mounting slots, making it slightly flexible until it’s bolted to the mounting bracket. Four Philips screws hold the two pieces together.
In terms of construction and quality, the Z1 Platform is to offer increased stiffness in specific areas, though its finish is merely average. The RubiGrid, on the other, features a superior finish – but the upper plate has slightly more flexibility due to the numerous machined slots. This is a tie.
CONSTRUCTION QUALITY: Tie
III. Ease of Installation
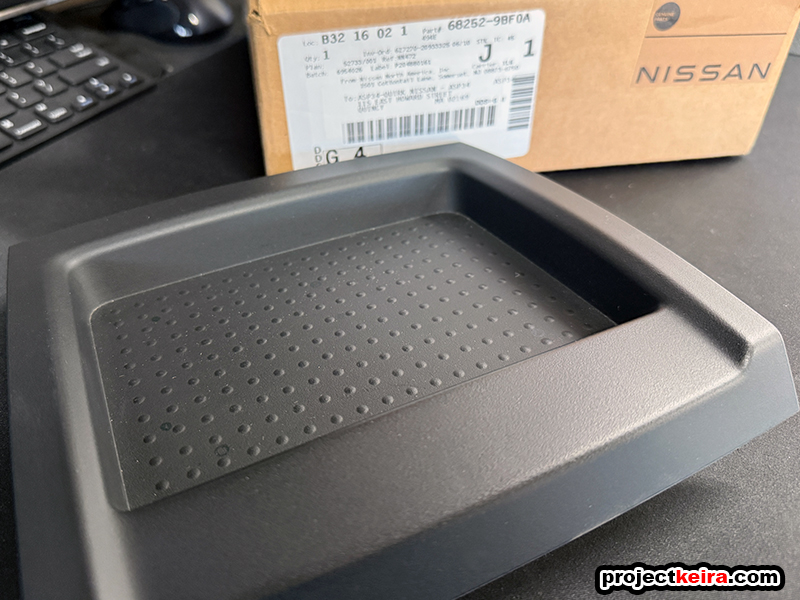
Both options require drilling into the OEM dash bin. To prepare for this comparison I purchased a couple of extra OEM Nissan # 68252-9BF0A – more commonly known as the ‘center dash top bin’ that is above the head unit:
Bulletpoint RubiGrid
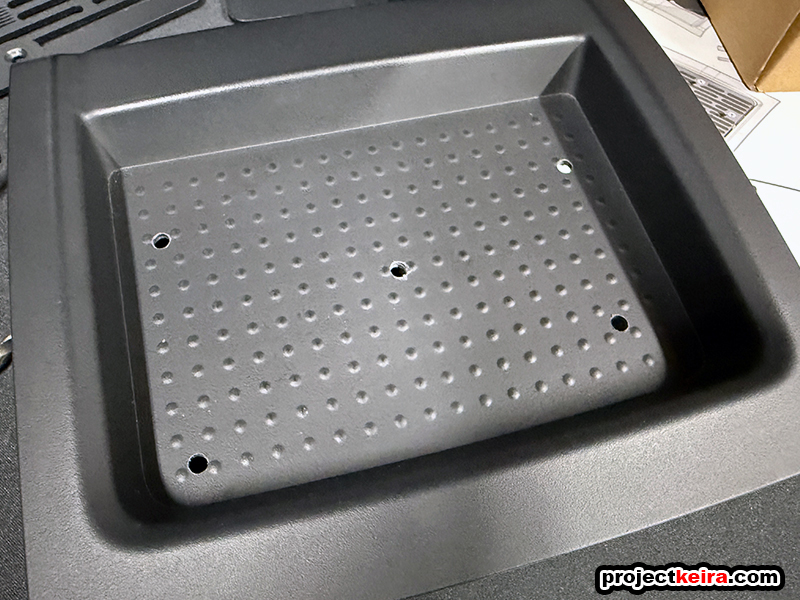
The RubiGrid’s instructions were pretty straight-forward: drill five holes, attach the lower mounting plate with some bolts/screws, and it is good to go. So that’s literally what I did:
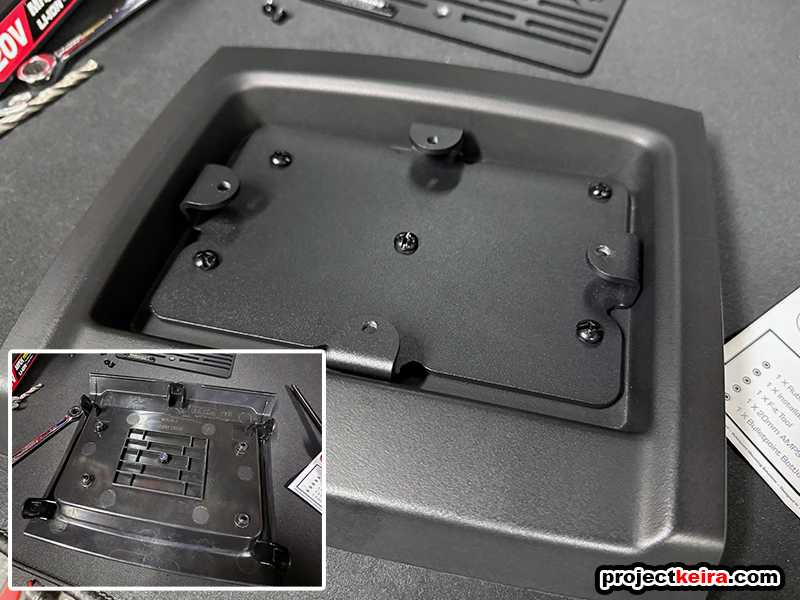
This part of the installation took less than 10 minutes – I didn’t even have to get my drill bit set, as Bulletpoint provided the correct size drill bit (nice). When attached together, the dash bin + mounting bracket is very solid. The inclusion of locknuts was another nice touch, allowing me to snug the fasteners up without needing any thread locking compound.
All that was left was to snap the dash bin back into the truck, and when I did I was greeted with… an uneven rear edge. Turns out that the locknuts contacted the dashboard’s inner bracing! However this was addressed by Bulletpoint – remember how they included two drill bits in the package? The larger drill bit was specifically to be used to drill into the dash inner bracing to allow the locknuts to have clearance, as shown below:

With the two holes drilled into the dash inner brace, I attached the RubiGrid to the bracket and snapped everything into place, completing the simple, quick, and easy installation:

Z1 Platform
On the other hand… installation of the Z1 Platform really tested my patience. The beginning steps were quick and easy – per their video instructions, “simply” mark and drill three holes into the dash bin. Then trim the plastic underneath the OEM bin to allow for mounting bracket clearance. Side note for Z1: someone buy Simon a proper reamer (watch the video, you’ll see why). Better yet, a whole tool set since to "cut" the plastic bits they used linesman pliers. I however, used actual flush cut pliers because you know – I’m cutting something:

Next, install the mounting bracket in the center dash, using the existing screw to secure it in place:
So far so good, right? Well…
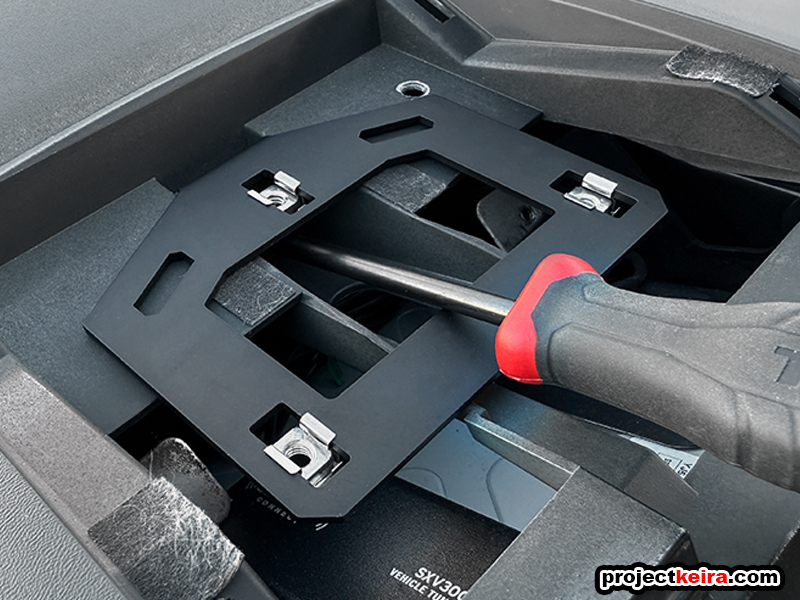
…this is the part that got a little annoying/frustrating. To attach the upper platform, you must line up the three holes in the upper panel with the three holes in the dash, down to the three clip nuts in the bracket, then thread the three stainless steel bolts to the clip nuts – with the OEM bin barely hovering above the dash. (If that sounds complicated, look at Z1’s installation video around the 4:40 mark.) They even mentioned that this part of the install would take “a little bit of patience”… but it took more than that. The few times I got the rear bolt threaded in (like they showed in the video), I would have no visibility to get the front two bolts aligned. No matter what I tried I could not get the front bolts threaded, after many, many attempts, I used my phone to take an overhead-view photo of the dash bin area, and this is what I saw:

Mind you, I did follow Z1's own video instructions when marking the holes to drill. Turns out that the clip nuts were pushed as far forward as possible, but it was still not aligned with the holes I drilled. At this point I was annoyed that what looked like a 10-minute install was now approaching half an hour (the installation video had a lot of jump cuts during this portion… hrm?) so since this was a test bin anyways, I resolved the problem by slotting the mounting holes with my trusty Dremel:

That did the trick. I finally got the Z1 Platform bolted into the dash:

Needless to say, the ease of installation goes to the RubiGrid. Luckily for the Z1 Platform, there are no negative points allowed in the scoring.
EASE OF INSTALLATION GOES TO: RubiGrid
(Continued in next post)


