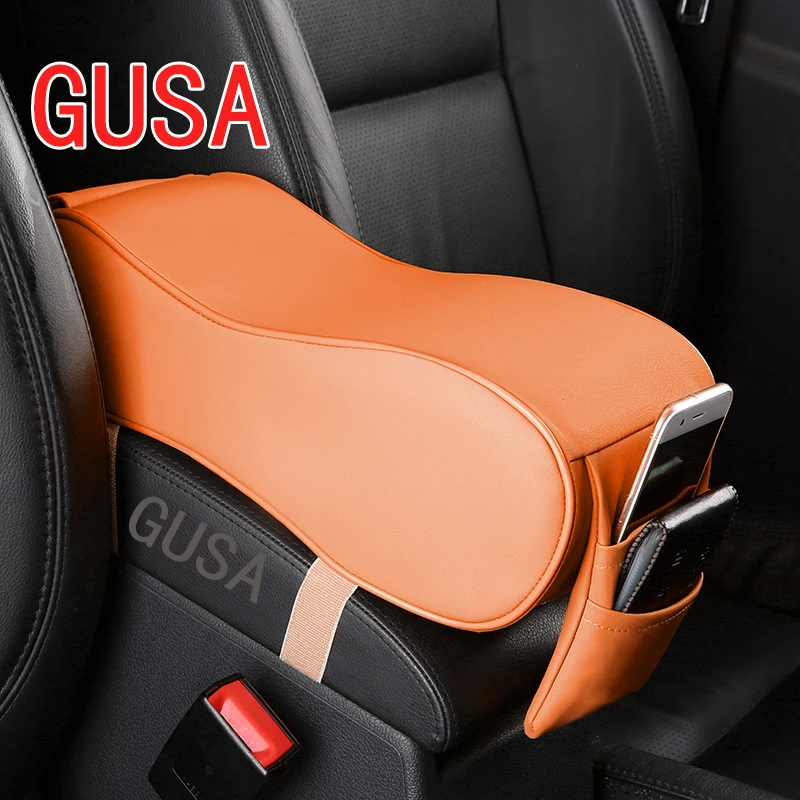

I got the idea from another member here, Saxtech. I ordered a charcoal leather armrest cover with medium yellow and medium blue stitching to match my metallic blue CC that has the yellow Pro4X logo. I also got the extra padding which turned out very nice. Down the road I may pull the cover off and add some different foam and try again but after an hour of fiddling around I was tired of dealing with it. I got the cover tucked under 98% of the floor of the console lid.
Tools needed:
1. Philips head screwdriver
2. T20 Torx Head screwdriver or bit to attach to ratchet
3. Optional - I used an interior panel removal tool to manipulate some of the leather under the floor of the console. Somewhat unsuccessfully in one corner.
4. Redline recommends glue but I didn't use any.
5. Prepare for finger pain involved in stretching the cover over the console lid
6. You may want to consume a beverage of your choice
Installation went like this:
1. Remove console lid from vehicle by unscrewing 3 philips head screws where the hinge of the console lid is attached to the console
2. Then remove the floor of the console lid by unscrewing 3 torx head screws to fully remove the hinge and then remove the 4 remaining torx head screws at each corner.
3. Lay the Redline cover over the lid and check for alignment. I'm not sure how it is with just the cover but if you go for the padded option there will be some pulling involved to get enough leather to fit under the floor of the console lid when you reinstall it.
My thoughts:
1. I'm not a professional but this was relatively easy (not painless...fingers = ouch from stretching and manipulating fabric). To get the perfect fit you need a bit more patience than I possess but I think this will wear in nicely. I did not use any glue but if it poses any problem you can be sure I'll acquire some fabric glue and "do it right". Saxtech didn't use glue either to my knowledge however Redline does suggest it. For me this is "good enough" but I think it looks awesome. I plan to order the E Brake boot cover in charcoal with the blue and yellow stitching as well. I didn't order both together b/c I wasn't 100% sure about the look of the two threads but I'm very satisfied with the thread color (nothing special ordered) the quality and thickness of the leather (very nice quality) and the look it adds to my ride.
Let me know if there are other pictures you'd like to see.
Pictures:
T-20 Torx screw locations in lid floor and cover before being tucked under:
![Image]()
Lid cover tucked under lid floor (you can see upper left corner where I gave up trying but I hope it's good enough):
![Image]()
Closeup of thread colors:
![Image]()
Cover installed:
![Image]()
And the money shot - installed in the truck:
![Image]()
Tools needed:
1. Philips head screwdriver
2. T20 Torx Head screwdriver or bit to attach to ratchet
3. Optional - I used an interior panel removal tool to manipulate some of the leather under the floor of the console. Somewhat unsuccessfully in one corner.
4. Redline recommends glue but I didn't use any.
5. Prepare for finger pain involved in stretching the cover over the console lid
6. You may want to consume a beverage of your choice
Installation went like this:
1. Remove console lid from vehicle by unscrewing 3 philips head screws where the hinge of the console lid is attached to the console
2. Then remove the floor of the console lid by unscrewing 3 torx head screws to fully remove the hinge and then remove the 4 remaining torx head screws at each corner.
3. Lay the Redline cover over the lid and check for alignment. I'm not sure how it is with just the cover but if you go for the padded option there will be some pulling involved to get enough leather to fit under the floor of the console lid when you reinstall it.
My thoughts:
1. I'm not a professional but this was relatively easy (not painless...fingers = ouch from stretching and manipulating fabric). To get the perfect fit you need a bit more patience than I possess but I think this will wear in nicely. I did not use any glue but if it poses any problem you can be sure I'll acquire some fabric glue and "do it right". Saxtech didn't use glue either to my knowledge however Redline does suggest it. For me this is "good enough" but I think it looks awesome. I plan to order the E Brake boot cover in charcoal with the blue and yellow stitching as well. I didn't order both together b/c I wasn't 100% sure about the look of the two threads but I'm very satisfied with the thread color (nothing special ordered) the quality and thickness of the leather (very nice quality) and the look it adds to my ride.
Let me know if there are other pictures you'd like to see.
Pictures:
T-20 Torx screw locations in lid floor and cover before being tucked under:

Lid cover tucked under lid floor (you can see upper left corner where I gave up trying but I hope it's good enough):

Closeup of thread colors:

Cover installed:

And the money shot - installed in the truck:


")