Nissan Frontier Forum banner
121 - 140 of 148 Posts
If you have cold galvanized paint, use it ...... otherwise just some rust-o-leum or other good spray paint will work
 
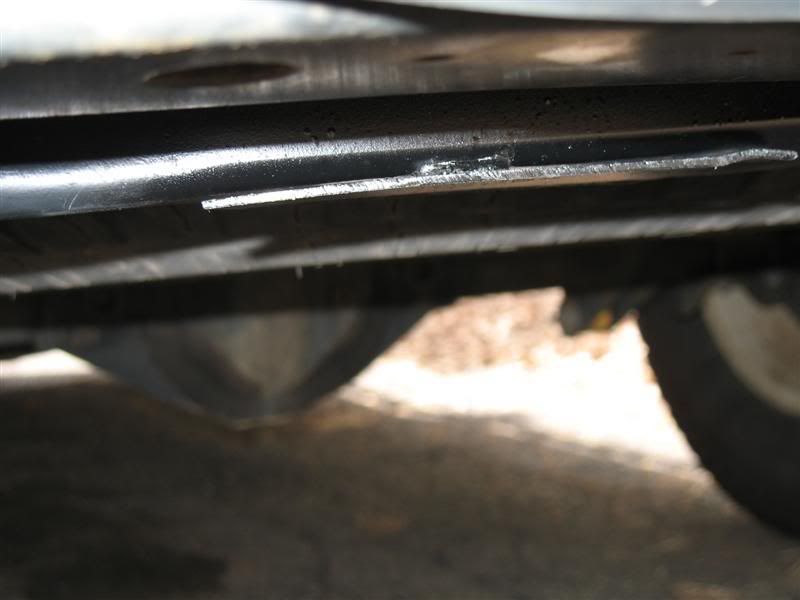
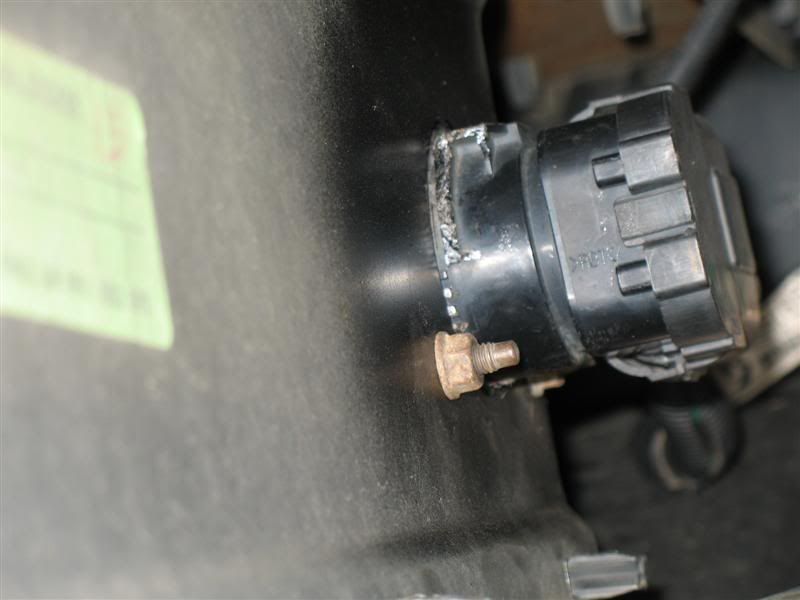
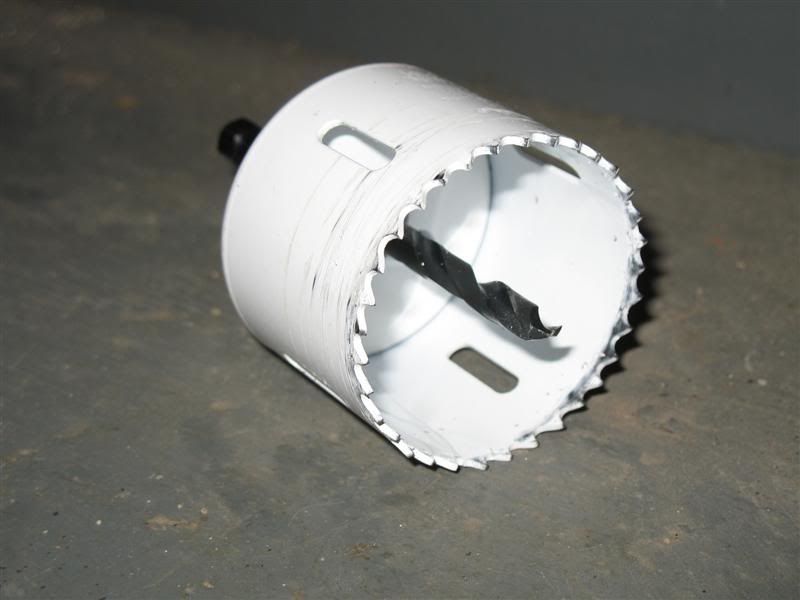
project went pretty smooth, and much faster than anticipated. Borrowed a carbide 2-1/8 hole saw from work. Should have grabbed the center punches to, because the one issue I had was my drill bit walking a bit for the bolt holes. Primed and painted with rustoleum before reassembly, doused with fluid film after
 
Relocating the OEM Trailer Plug to the Bumper

This thread gave me the info to do this modification. In particular, I used info from MENDEL514 and Yamato72’s posts.
MENDEL514 provides some excellent information in his post (#29):
(BTW, I’d like to give a shout-out from a former resident of K-town.)
http://www.clubfrontier.org/forums/f23/hitch-plug-relocated-bumper-30484/index3.html#post719373
Yamato72 also give some good info (Post #97):
http://www.clubfrontier.org/forums/f23/hitch-plug-relocated-bumper-30484/index10.html#post1302889

Here’s my lousy pre-mod photo:
Image


The first step is to remove the plug from its stock location. Remove the two bolts, and slide the plug down off the bracket. The plug doesn’t ride in a closed circle within the bracket and will slide off once the bolts are removed.

Yamato72’s post gives good info on the shape of the plug and how to disassemble it:
I did this yesterday by following the linked instructions. They were a big help.

You can completely disassemble the plug from the housing by releasing 3 plastic tabs. By doing this and then using a Dremel to grind down all but the notch at the top, I was able to get away with a 2" hole saw.

Image


Image


Image


I decided to mount it a bit higher up instead of right in the center. Since you need to leave the notch at the top, in my case it made sense to slide the connector up to the top of the hole, which locks the top in.
I trimmed the back side of my plug a bit differently, though. Because I didn’t take photos as I worked, we’ll have to suffer through my drawings. Here’s my rendering of the stock plug from the back side:
Image

The red lines show where I cut off with a Dremel (get yourself a flex shaft, they’re great!):
Image

And in this drawing illustrates what was left after I trimmed it:
Image


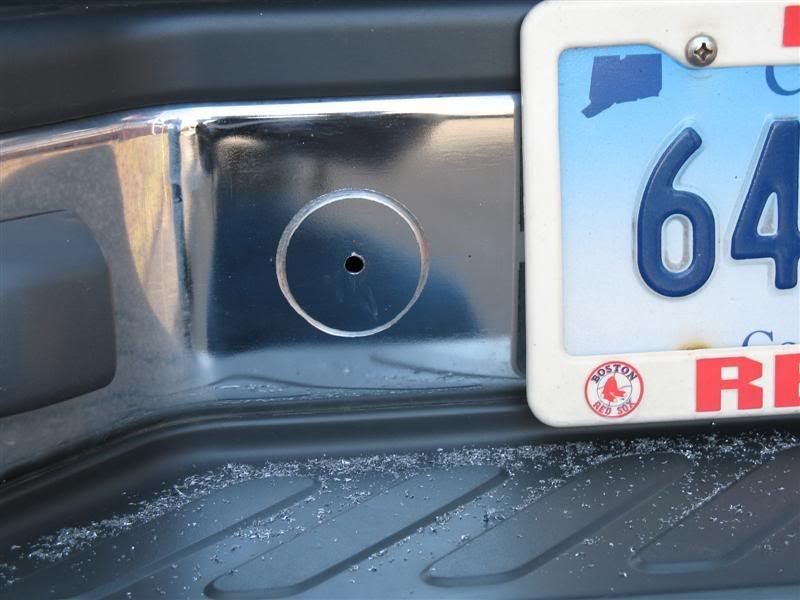
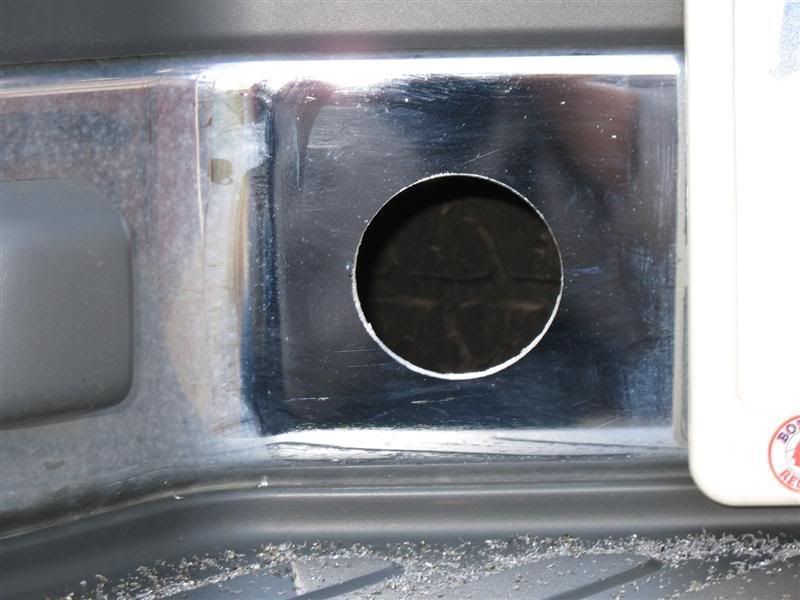
Next I drilled the hole in the bumper using a 2-1/8” hole saw. As others have done, I positioned mine a bit above center and am happy with the result. It is important to mask the area with tape, particularly if your bumper is painted. And following drbandkgb’s advice, I gave at a spin in reverse before starting so as to reduce the chance of chipping.

Then I used MEDEL514’s idea:
I did the same thing to my truck when I first bought it in 2006. It was pretty much the same method, but I cut the bottom end of the hole flat so that way I wouldn't have to grind off the plastic tabs off the back of the plug. Doing it this way, you insert the plug upsidedown, then once its flush with the bumper, turn it 180 degrees. When you turen it rightsdieup, the plastic tabs lock into the upper rounded portion of the hole for support, and the lower bolts for security. Once the plug was fully installed, you can't even see the flat part of the hole!

Image

Image

Image
I cut the bottom corners out using a metal cutting disk in the Dremel (again, the flex shaft made this a lot easier than having to cram the entire Dremel up against the work surface).
As he did, I was able to insert the plug upside down, then rotate upright to lock it in place.

But before installing the plug, I took some steps to make sure things last…
I removed all the masking tape and remasked with about 1/8” gap around the holes. This set me up to paint it all with white Rustoleum to ensure it doesn’t rust. I actually lightly applied more tape across the holes and painted the inside first, then removed that tape to paint the outside. Once it was dry to the touch I removed the tape and installed the plug. None of my paint job shows outside the installed plug.

Make sure then back side of the plug is fully seated at all connections. I spent too much time trying to figure out why I had no juice at the plug when the entire problem was that I hadn’t fully seated the perpendicular plug on the back. Doh!

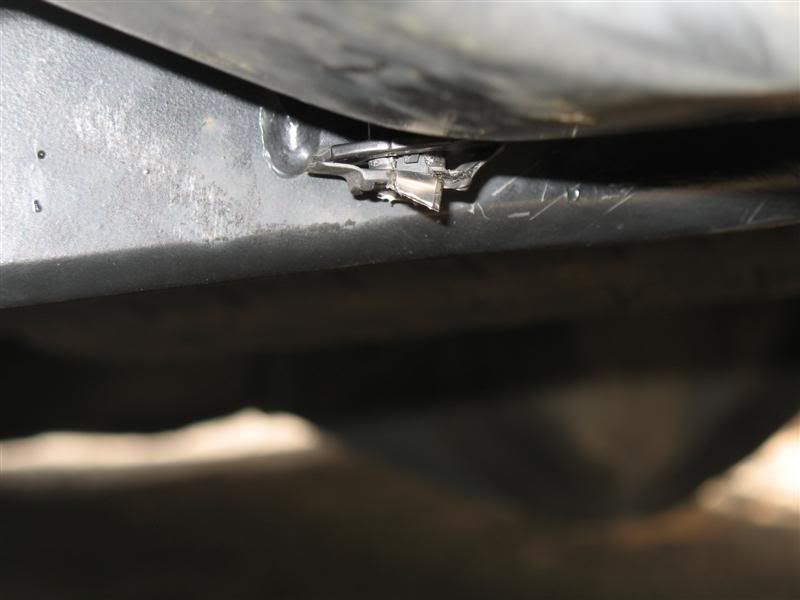
It took only a moment with the steel cutting disk and the angle grinder to cut the stock plug bracket from the underside. And a quick spray of black Rustoleum should keep things from rusting.


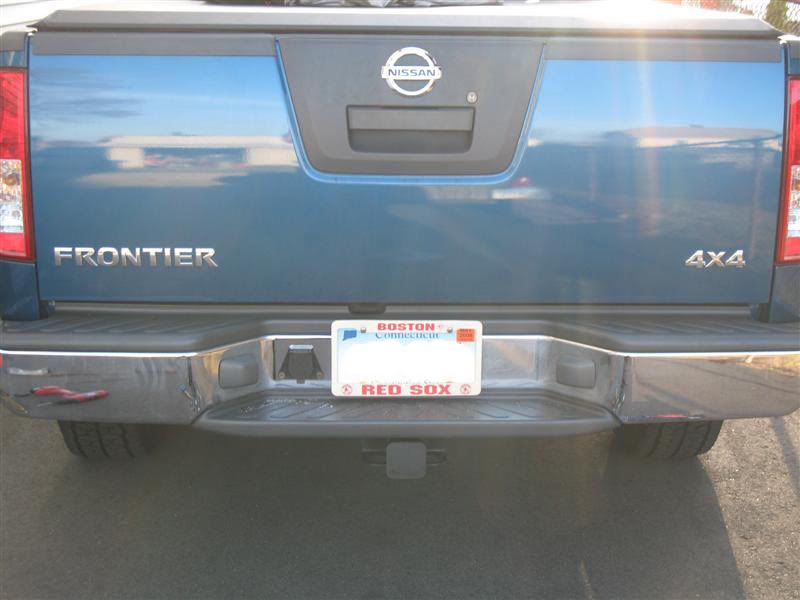
And here it is done:
Image

Image

Image

That’s a 7 to 4-pin converter plugged in the first two photos.

I hope someone finds this info helpful!
 
THe rustoleum I used back in 2006 only held up for a few years. Here I am 9 years later and there's rust spreading from the cutout. However, Germany loves to used a ton of salt on the Autobahn during the winters so I know that didn't help at all. This cutout isn't the only place I have rust now.
 
Done, The factory plug mount got hit crossing a washout the other day. I got lucky, only 1 crack in the plastic plug housing. 2012 - 2 1/4" hole saw, Rustoleum bare metal primer, Nissan touch up paint, minor dremel trim on plug case, OEM bracket chopped w/die grinder cut off wheel. I offset mine down towards the bumper step. Next Mod Please!
 

Attachments

THe rustoleum I used back in 2006 only held up for a few years. Here I am 9 years later and there's rust spreading from the cutout. However, Germany loves to used a ton of salt on the Autobahn during the winters so I know that didn't help at all. This cutout isn't the only place I have rust now.
This is why i have not done this yet. I know that no matter how many coats you put on before installing it will rust. I tow maybe once a year and just leave my harness bungeed up above the hitch under the bed.
 
This is why i have not done this yet. I know that no matter how many coats you put on before installing it will rust. I tow maybe once a year and just leave my harness bungeed up above the hitch under the bed.
Yeah, the cutout isn't the only place on the bumper with rust though, I have rust started on the corners and under one of the plastic steps that's glued to the bumper. I don't think anything will stop rust, unless I was living back in Arizona...
 
Rust, should have seen all the rust under the factory plug bracket. Plus, by the time the bumper rusts out, some cell phone lover will rear end me anyways!
 
Just installed a Curt hitch and did this mod with the wiring harness. Thank you everyone that contributed to this thread, it was very helpful and informative. I bought the harness direct from the dealer (they had several in stock for $66) and had no issues at all. The 2 1/8" hole saw was on point for a perfect fit once all the extra tabs were cut. Any bigger and you may end up with a visible gap

Very easy install for both the hitch and the wiring, and the 7 pin connector looks way better in the bumper. Highly recommended mod

Cheers
 
I did the thing today too... took me a little longer than most have said, but then I was also including the LED strip wires, and cleaning up the harness under there from the mess I made adding the LED strip the first time.
 

Attachments

This what I purchased last year. The harness is arriving Friday and possibly install this weekend. Very high quality piece and has both 7 pin round and 4 / 5 pin flat connectors for universal operability w/o any adapters to get lost. Rubber gasketed spring-loaded closure on the 7 pin, flexible rubber closure cap on the 5 pin. I think its gonna work great. $16.82 plus shipping.

307262
 
owns 2014 Nissan Frontier Pro4x
How did this work out for you? I am in the process of doing this mod. I like that plug end better than the stock one but I do not want to have splice wires. Did it just plug up for you?
 
What harness are you waiting on?
Something plug-n-play for the Frontier?
Yes, plug n play.

It worked out great, but I did cut off the existing 7 pin socket that came on the Tekonsha harness and installed my Hopkins 7 pin plus 4 / 5 pin adapter. Match the colours of each wire to each pin, from old to new, insert into the matching recess and tighten the setscrew. I put dielectric grease on all the connections during the process, as well.
At that point, after plugging it in & testing, I determined that my truck was one of the ones from the factory with the bass-ackwards harness, w/ the trailer house battery +12v and electric brake controller wires reversed. Simply repinning the connector at the bumper solved the issue and everything is good to go. Had I not hacked off the OE connector, this would have involved cutting and soldering, to remediate.
 
owns 2014 Nissan Frontier Pro4x
Also, I want to do the mod where I mount this in my bumper rather than letting it hang from a bracket. Did you do that as well? If so how big of a hole did you have to cut in your bumper? Thanks
 
owns 2014 Nissan Frontier Pro4x
  • Like
Reactions: Thelt
This what I purchased last year. The harness is arriving Friday and possibly install this weekend. Very high quality piece and has both 7 pin round and 4 / 5 pin flat connectors for universal operability w/o any adapters to get lost. Rubber gasketed spring-loaded closure on the 7 pin, flexible rubber closure cap on the 5 pin. I think its gonna work great. $16.82 plus shipping.

View attachment 307262
With the existing OEM harness, will this dual connector work?

Yes, plug n play.

It worked out great, but I did cut off the existing 7 pin socket that came on the Tekonsha harness and installed my Hopkins 7 pin plus 4 / 5 pin adapter. Match the colours of each wire to each pin, from old to new, insert into the matching recess and tighten the setscrew. I put dielectric grease on all the connections during the process, as well.
At that point, after plugging it in & testing, I determined that my truck was one of the ones from the factory with the bass-ackwards harness, w/ the trailer house battery +12v and electric brake controller wires reversed. Simply repinning the connector at the bumper solved the issue and everything is good to go. Had I not hacked off the OE connector, this would have involved cutting and soldering, to remediate.
Or is this other harness required to replace the OEM?

If the OEM isn't replaced is that where the soldering would come in?
 
121 - 140 of 148 Posts